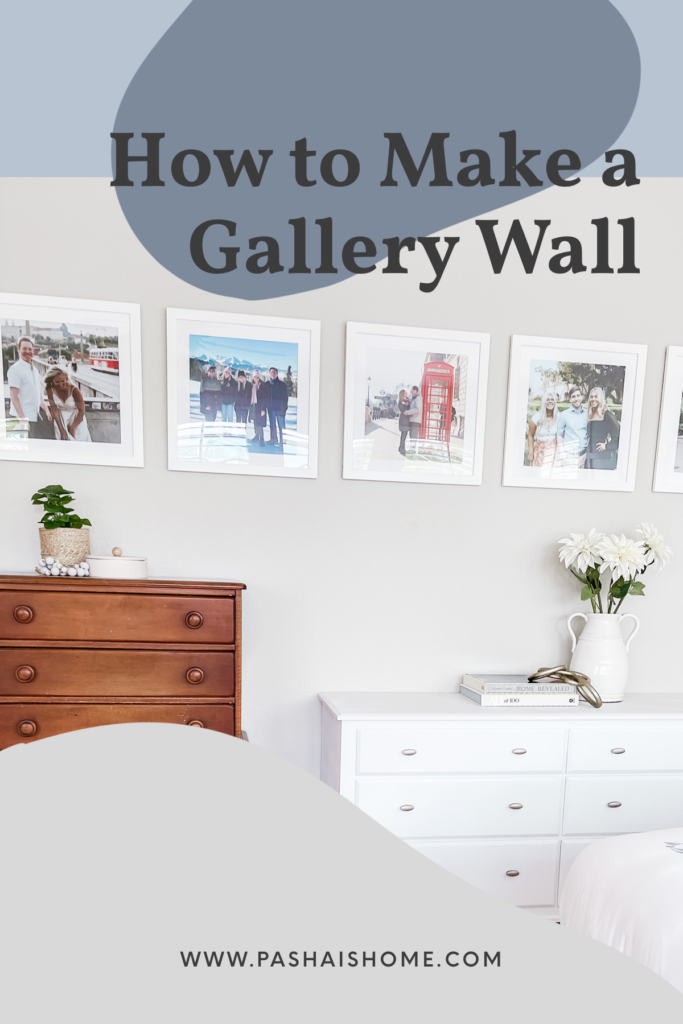
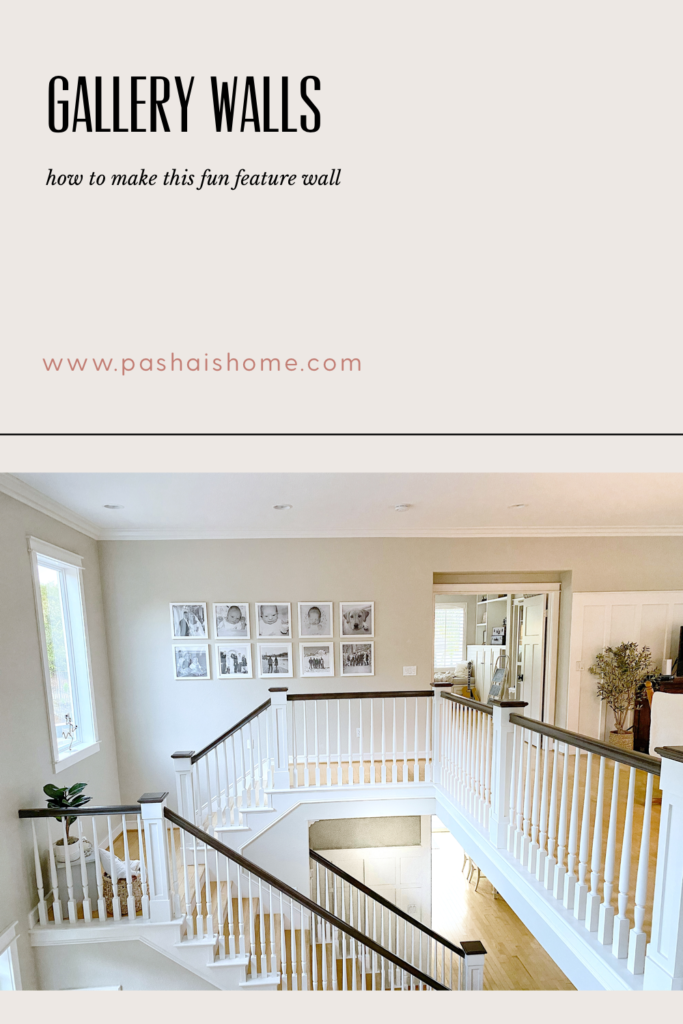
Last year (i.e.- the year of staying home and fixing up our homes) – I learned some helpful tricks on how to make a gallery wall to pass along to you guys!
I have always LOVED using family photos as decor in my house- whether it is to remind me of time with my loved ones or of a vacation I enjoyed going on.

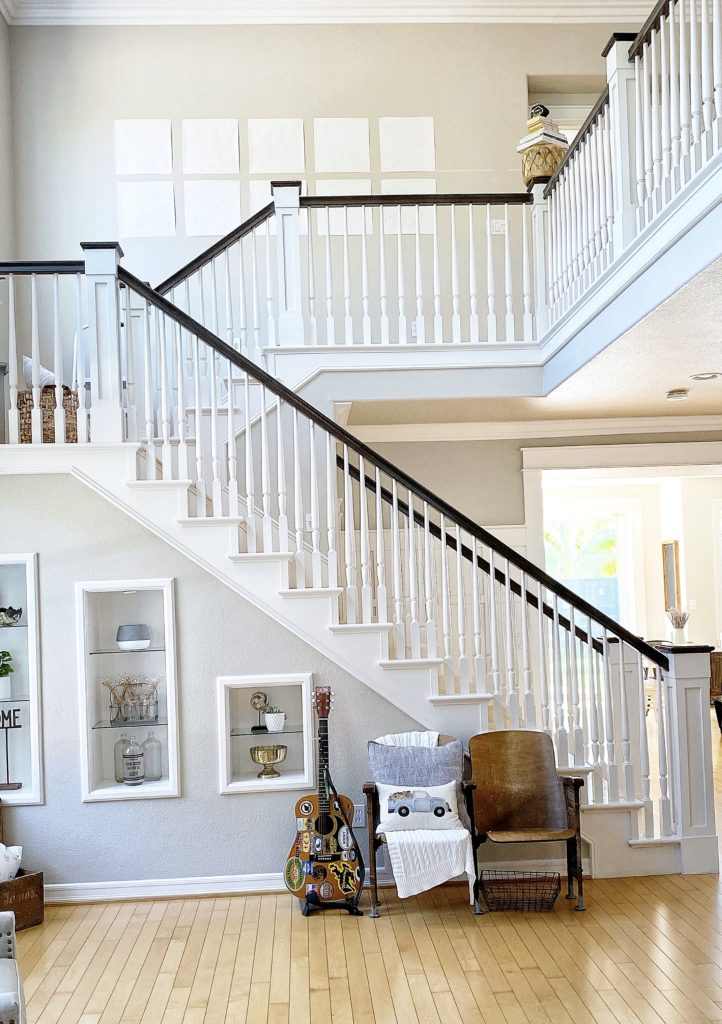
When I first moved into this house, I made a gallery wall with as many photos as I could.
Please ignore the crooked photos in this photo – do you know how HARD IT IS to keep THIRTY photos all straight at the SAME TIME??
It’s impossible fyi!
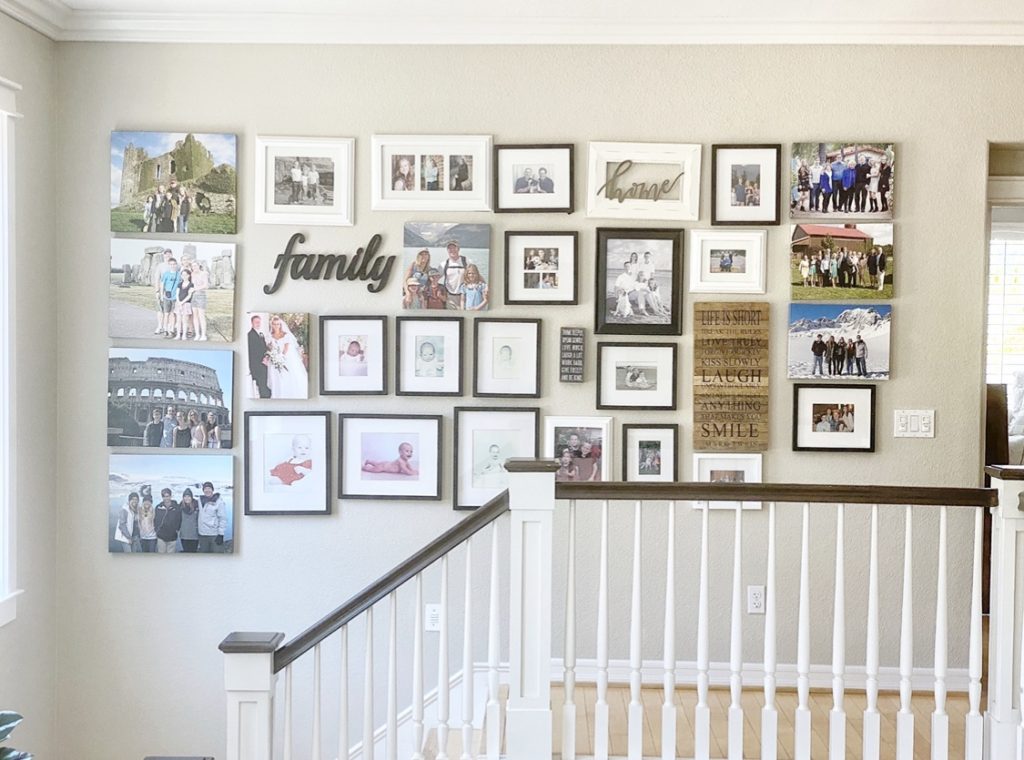
ANYWAY – I first saw a photo gallery wall when I was in my early twenties at an old college friend’s parent’s house and thought it was the coolest thing ever to have so many photos hanging up for guests to enjoy looking at.
Plus I loved seeing old photos of my college buddy! 😂
However – the year of 2020 was the year of simplifying and brightening everything up for me. Have you seen my previous posts about board and batten-ing multiple rooms and painting every square inch of my master bathroom?
Well my old gallery wall fell victim to this desire as well… simple and clean was my 2020 mantra.
Actually it has now continued into 2021 😂.

Steps for How to Make a Gallery Wall


Pick Your Favorite Photos
To go from the thirty photos I had on my current wall to my new desired quantity of ten – I had to decide which ten photos were my favorites…
Let me tell you – that was probably the hardest part about this project!
Have you ever tried to sum up a lifetime in ten photos???
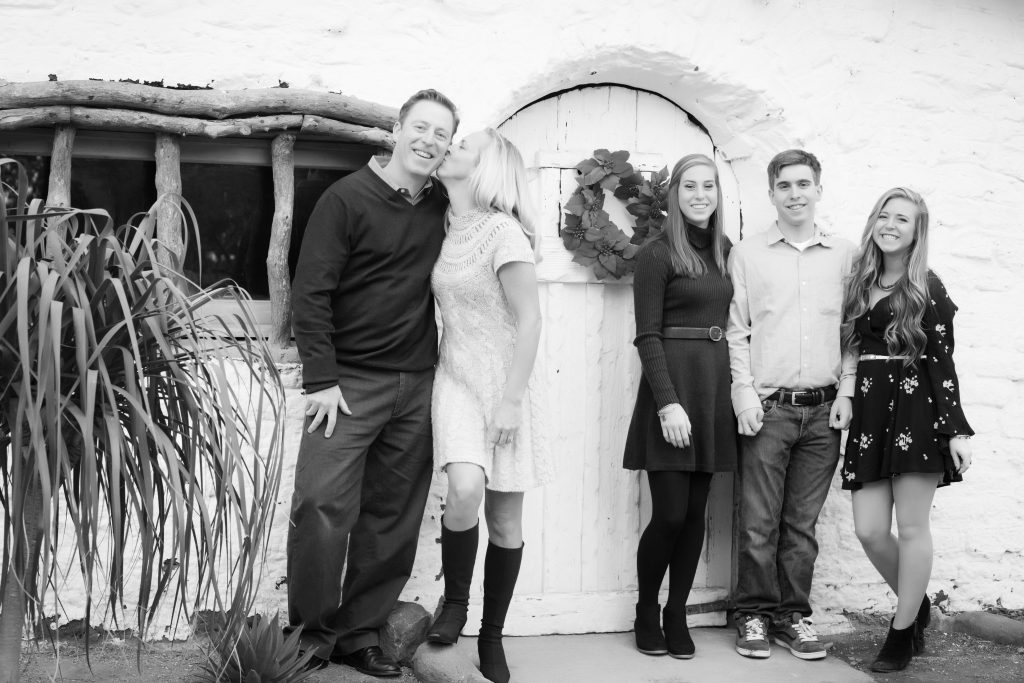
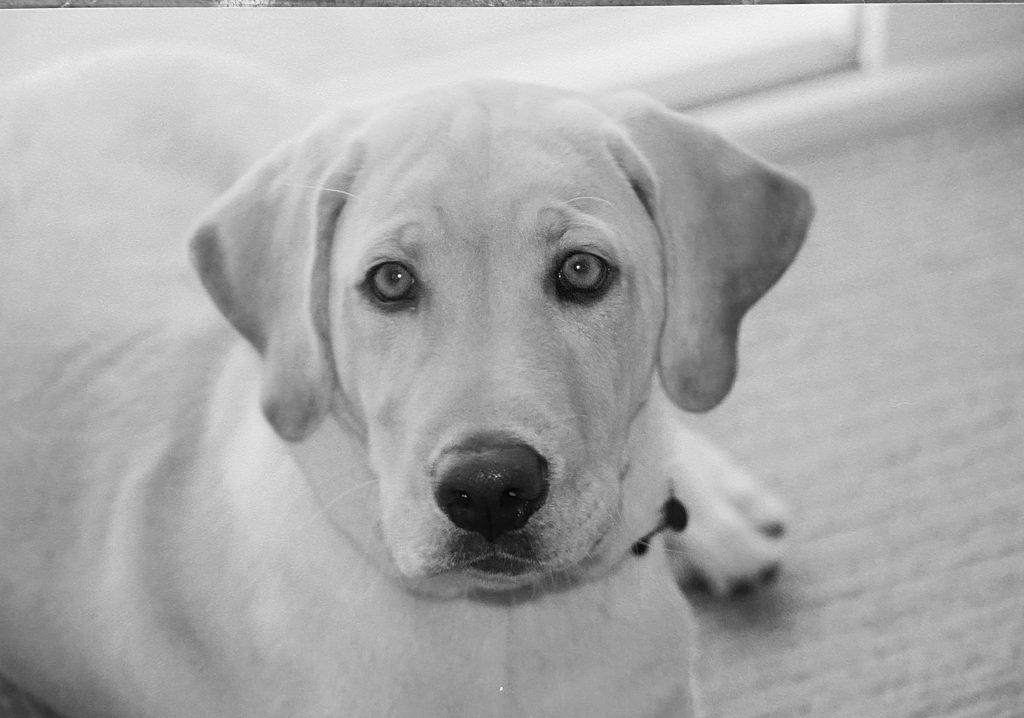
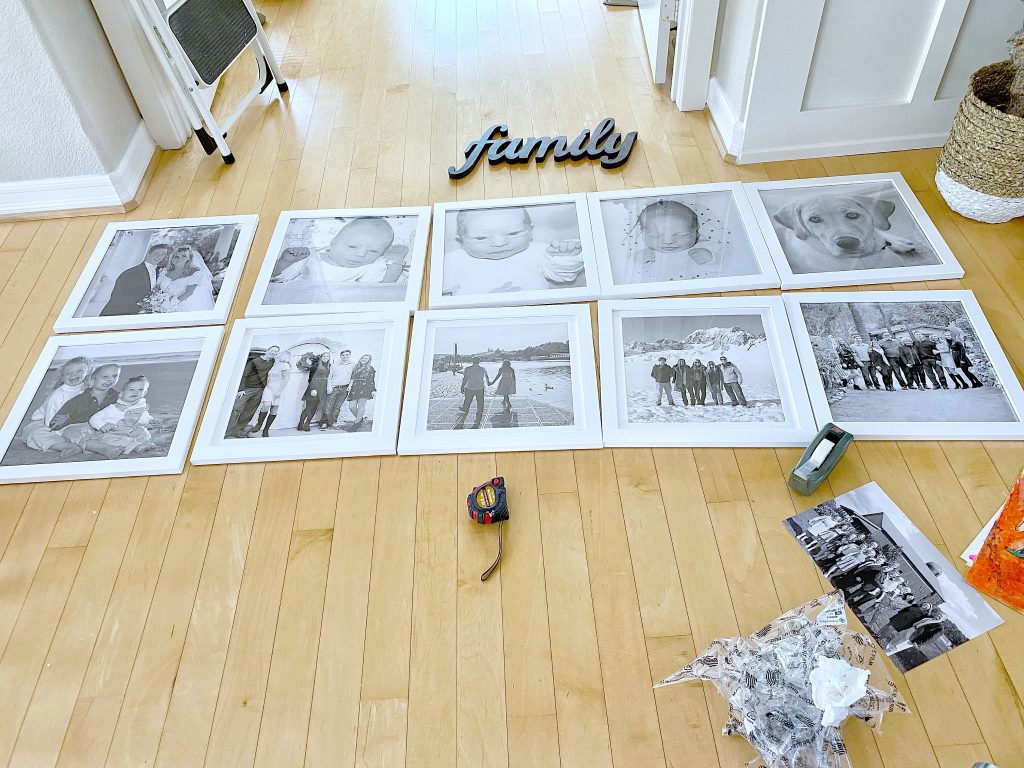
Here are a few I picked:


Download Photos to Frame It Easy Website
I knew from other Instagram friends that the company Frame It Easy was going to make cleaning up my gallery wall super easy to do.
All I had to do was download my photo choices to my new Frame It Easy account, pick my frames and press order.
Yes – it really was THAT EASY!!

Line the Photos Up
When the photos arrived about a week later, I lined them up on the floor in the order I wanted them on my wall.
I took some measurements of my wall and decided how much space I wanted on both sides of the gallery as well as how much space in between each frame (which was 3 inches for me).

Draw the Frames on a Large Roll of Paper
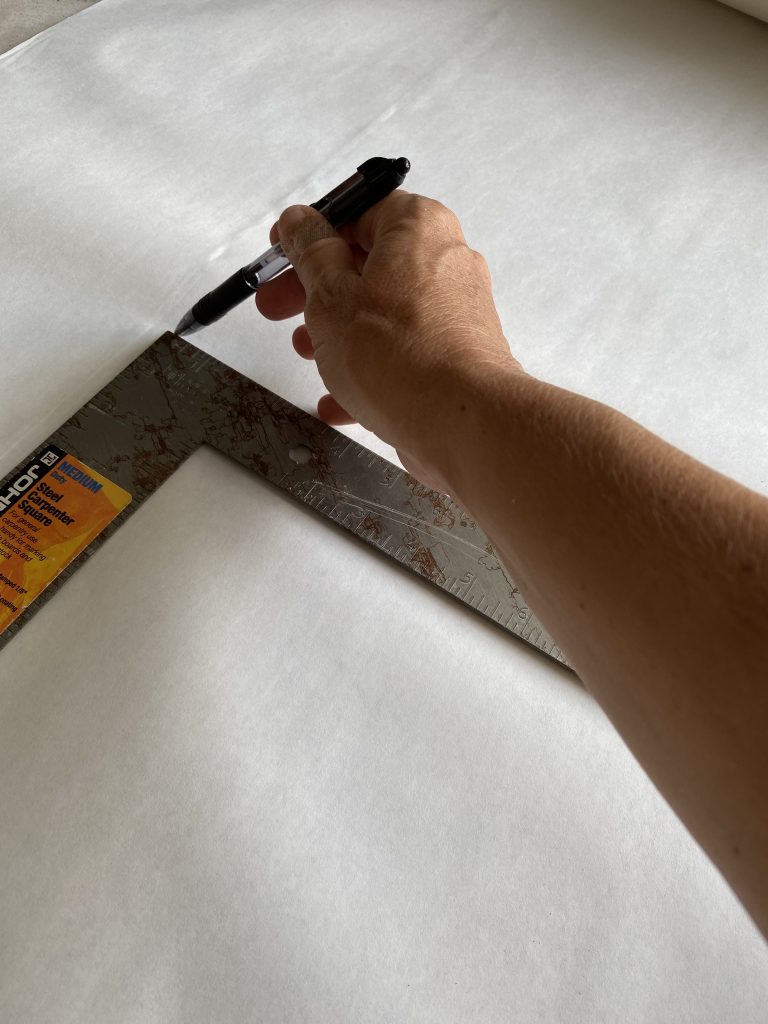
My next step was to use a large roll of white paper that I have owned for years to cut out 16 inch squares as my templates (which is the size of my frames I received).
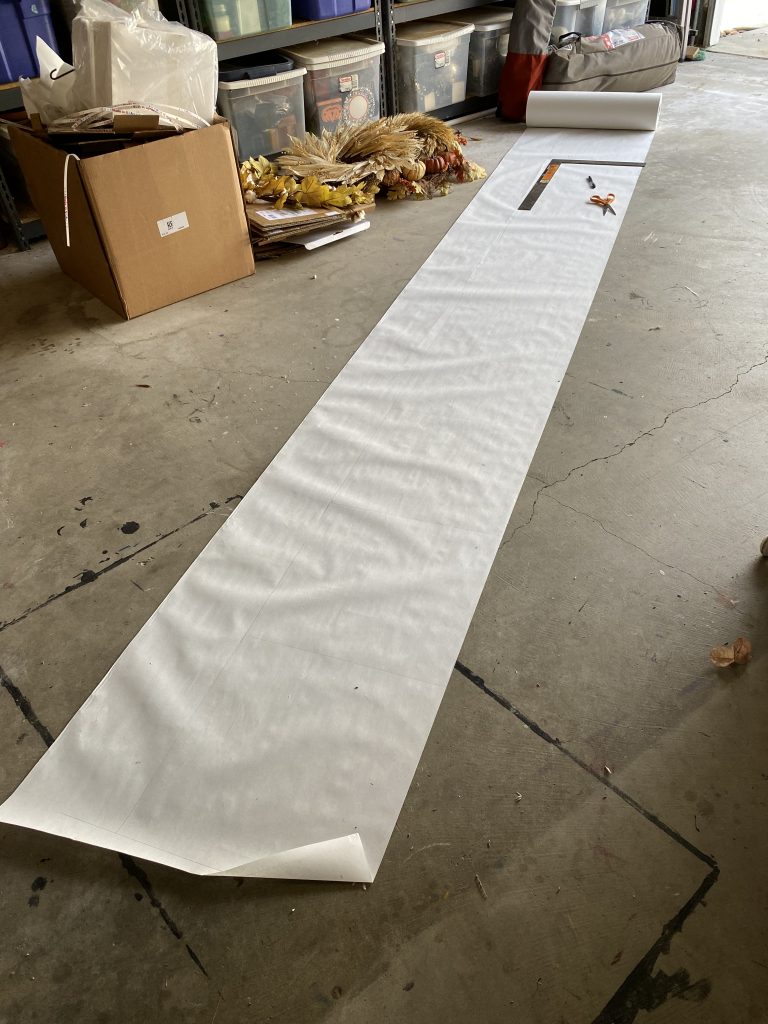
And FYI – having that large roll of paper around even after the kids are gone has come in so handy!
It has multiple uses besides helping make a gallery wall.
Like wrapping paper or fun signs to celebrate anything in life!
My daughter and her best friend used quite a bit of it for their campaign posters when they ran for student body offices a few years ago too!
Do you catch my drift that this roll of paper is SUPER handy to have around???!!

Hang the Outline Papers on the Wall
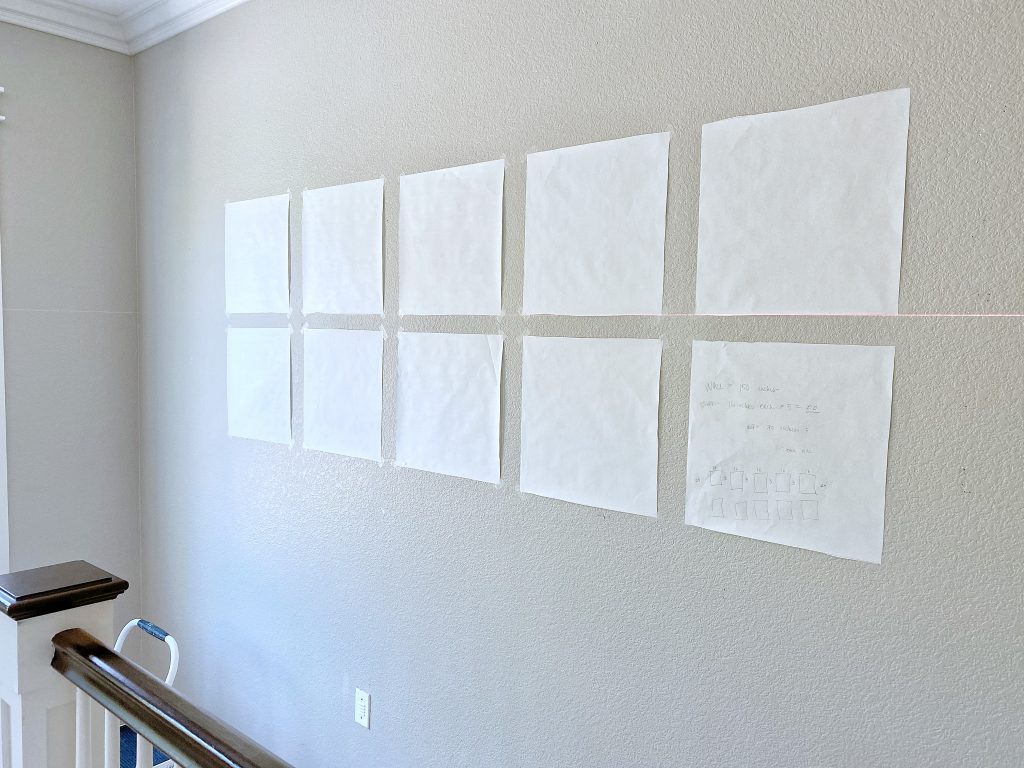
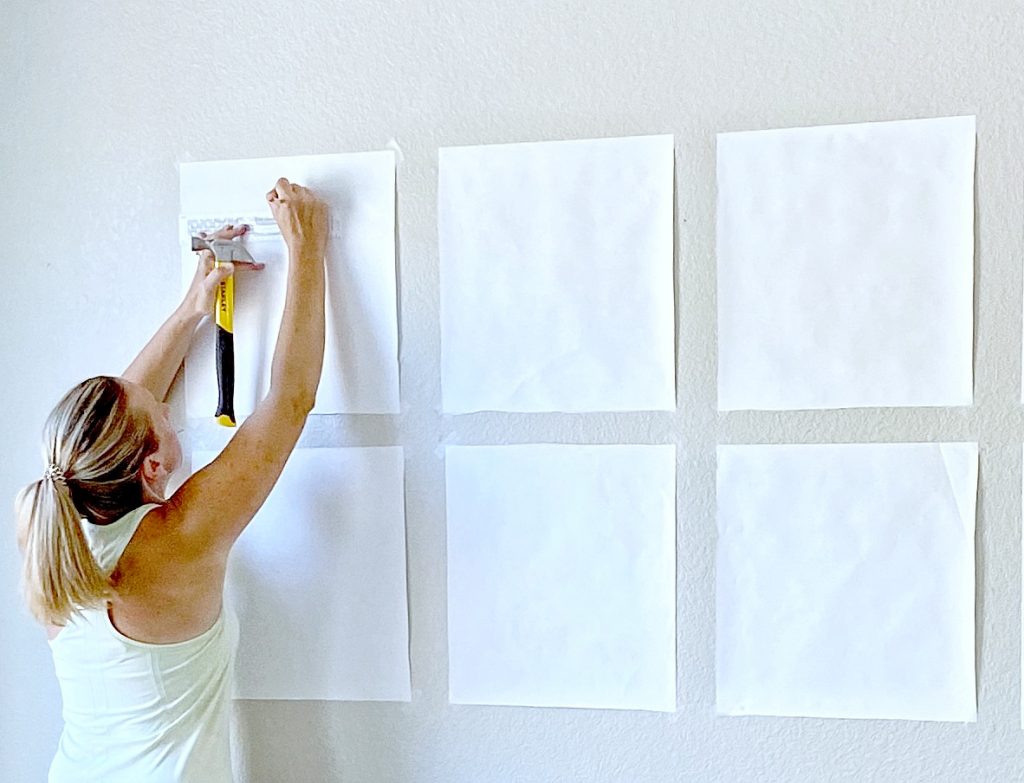
I hung the papers on my wall with tape in the exact locations that I wanted my photos to go.
I also used my husband’s favorite tool – the laser level – as a guide to keep my papers perfectly aligned!
Make sure you take a step back and look at this view from all angles to make sure it looks the way you want it to look (ie- height and distance in between photos looks good!).

Measure and Put the Nails on the Wall
I then measured where I needed my nails to go in the wall and marked it with a pencil on the white squares.
In order to know this- I measured how far down the wire string is on the frame (on my frames it was 4 inches) and the exact center of my 16″ frames is obviously 8 inches.
I put the nail in over the paper templates.
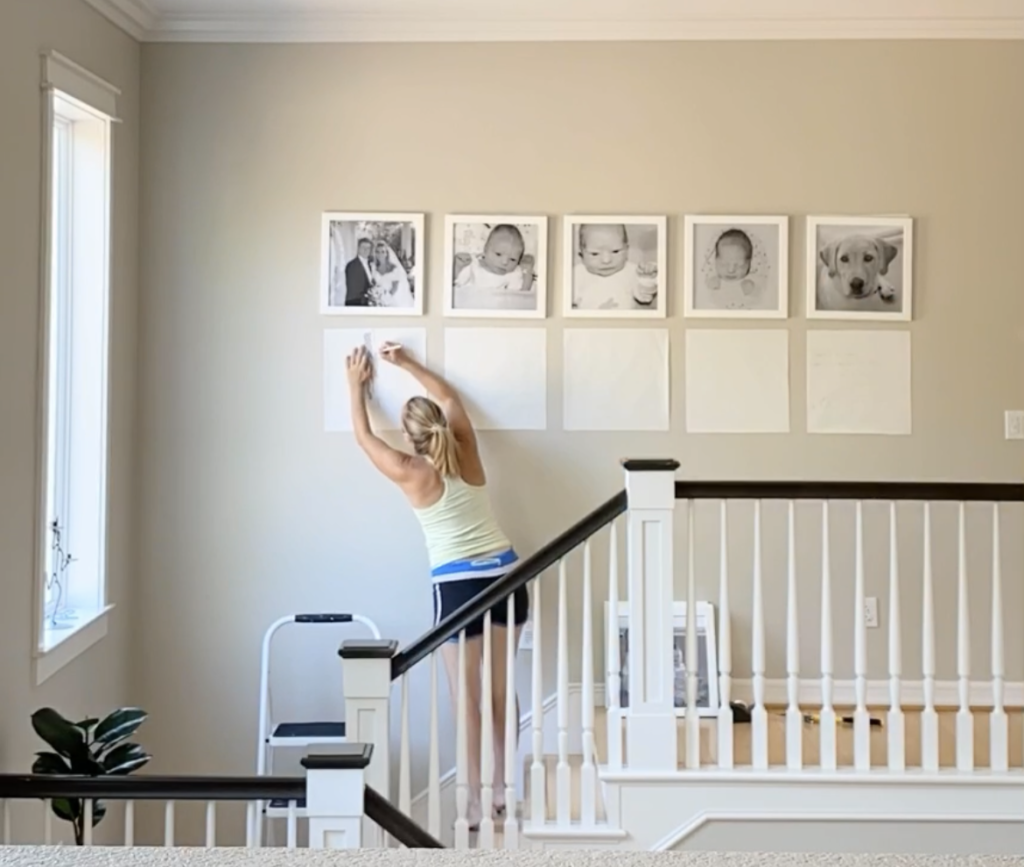
As I put each nail in – I also hung the frames up to make sure they all looked correctly aligned.

Take the Papers Off the Wall
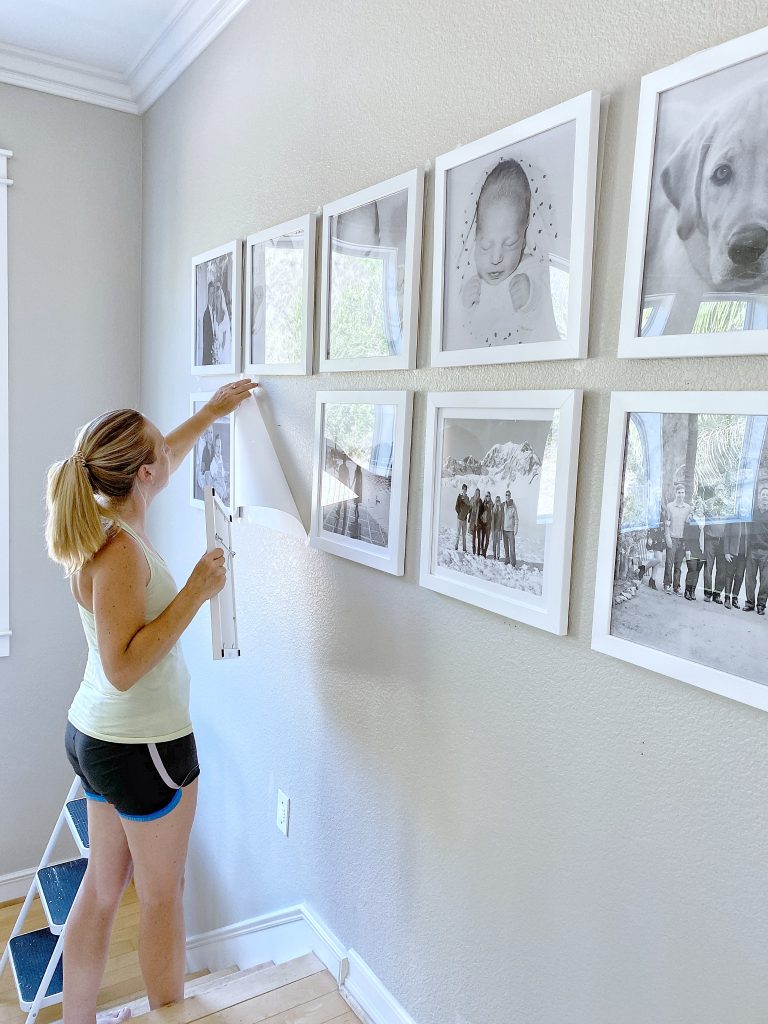
Once I stepped back and made sure the gallery wall looked correct, I then individually took each frame off the wall, peeled the paper template off the wall, and put the frame back up!
Such an easy way to get the exact look you are going for without putting 100 nail holes in your wall.
Which btw was how I did that last gallery wall – yes for 30 photos!! 😂

Step Back and Enjoy!
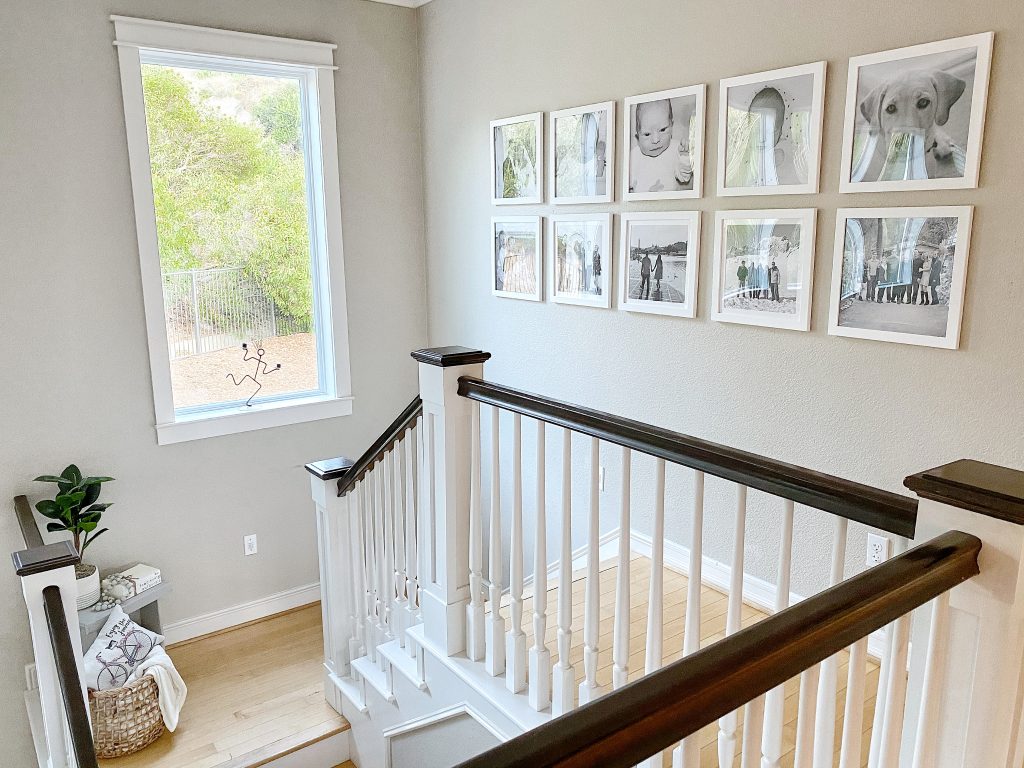
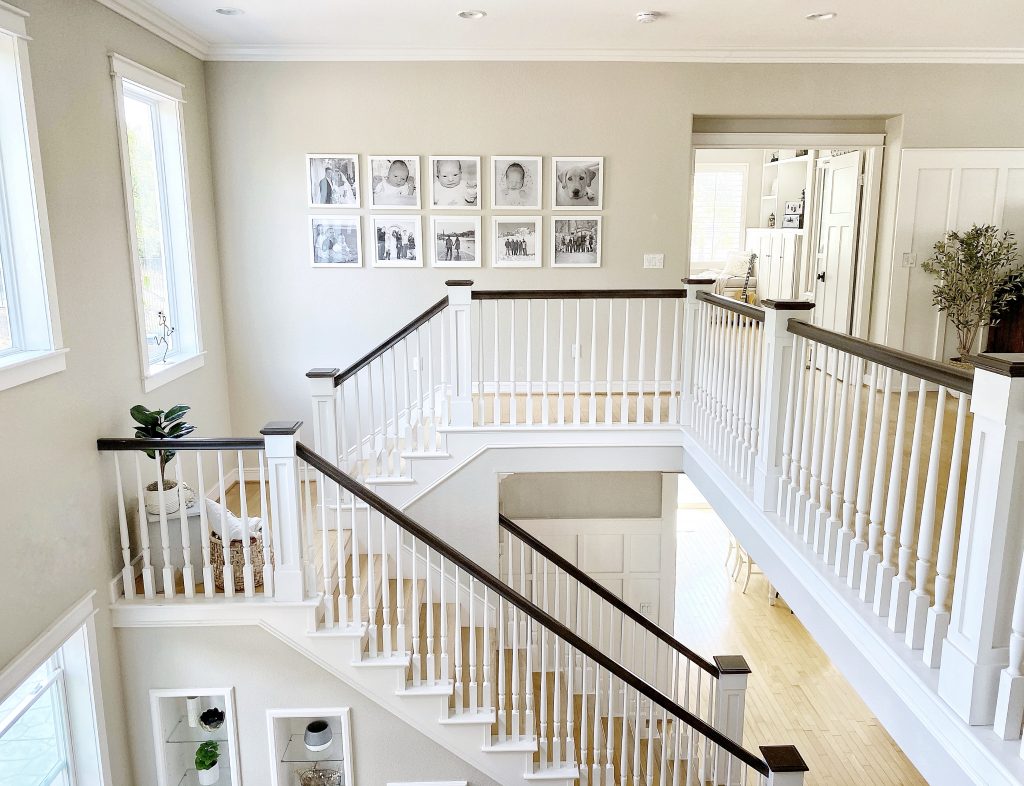

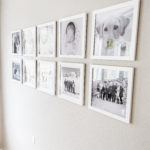
More recently I decided to change the decor on a wall in my bedroom to be another gallery wall of more of my favorite photos!
I told you it was impossible to choose just ten!
I used Frame it Easy again for this project and couldn’t be happier with the results!!
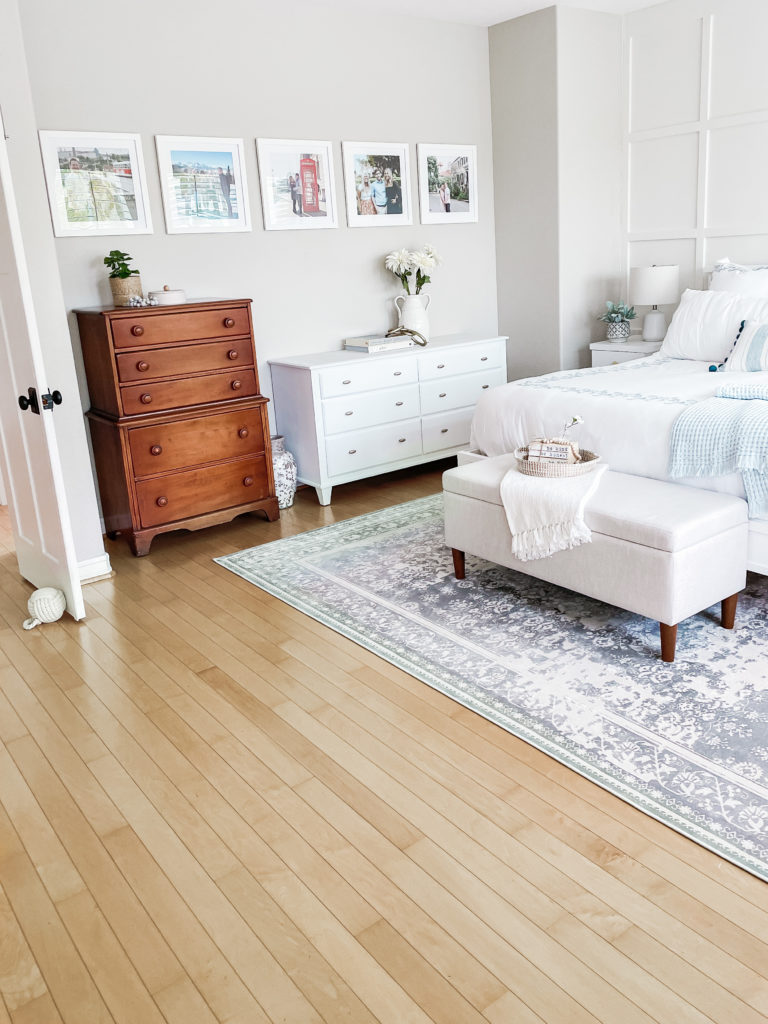
This project was part of a main bedroom update we worked on this summer.
You can read my grid wall how to post here!

And there you have it! Eight simple steps on how to make a gallery wall ;)!
Looking for an item that wasn’t linked in this post?
Be sure to check out my ‘Home Tour’ pages or ‘my Curated Collections Shopping Pages’ here.
Did you find this post useful? Pin it to your boards – just click the Pin button in the upper left corner!

Life is short, the world is wide.
I want to make some memories.
~Mamma Mia
Don’t miss any of my tips, inspiration, or stories! Follow me on Instagram, Facebook, and Pinterest.
As always, I love hearing from you!!
I make every effort to reply to every comment below. But if for some reason I missed it – please feel free to contact me here.
Have a wonderful day my friend! I hope something makes you smile today ;).


VERY COOL…..YOU HAVE SO MANY TALENTS!!!
Awww- thanks mom! Love you! Hope you are feeling better! XOXO