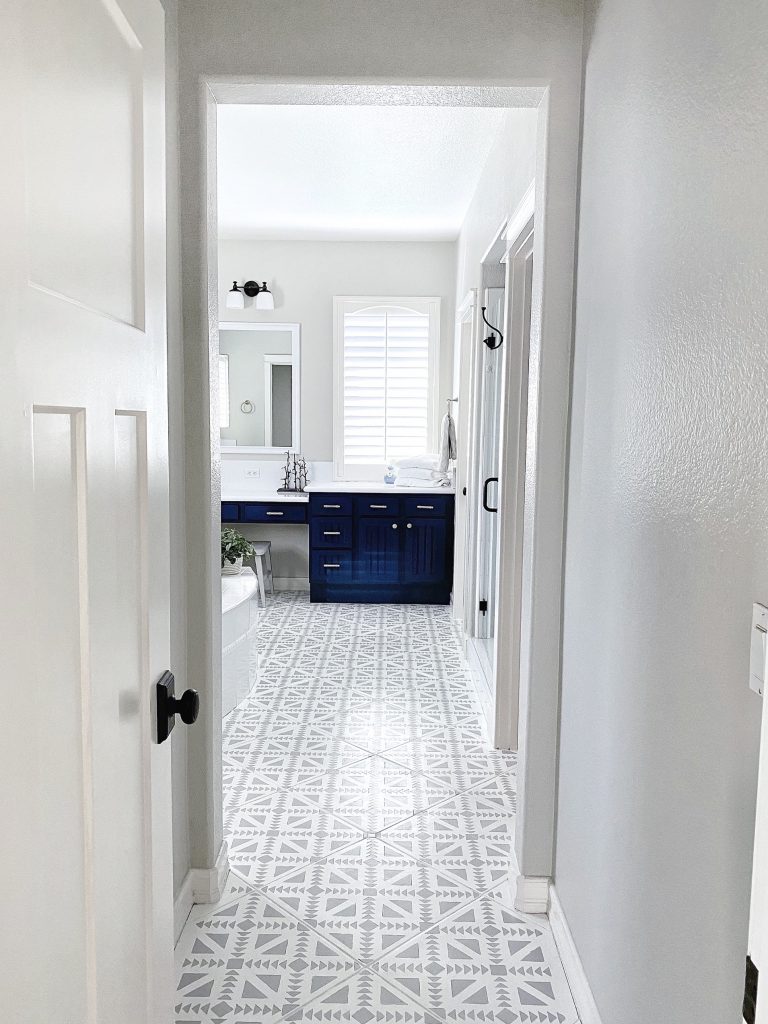
I remodeled my master bathroom with paint this summer. It was the very first room remodel I have done all by myself 😬. I would like to say I was scared but tbh with the year we had been having so far – I just plain needed a distraction. My bathroom was the perfect victim.
When we bought our builder grade home back in 2003, browns were all the rage… no one even dreamed of using gray colors. Fast forward to the year 2020, and browns are pretty outdated.
For the last five years, I knew my master bathroom needed an update but honestly I was holding out for a full blown gut job/start from scratch remodel in the next 2-3 years.
We Had A Mudslide in Our Backyard and I Needed A Distraction
In the spring of this year (2020), we had a pretty large mudslide in our backyard requiring extensive repairs as well as a pandemic related decrease in our income. I just knew that a full blown bathroom remodel that I was hoping to do in a few years was really not going to happen anytime soon.
So one day, I was getting dressed in my bathroom and decided- you know what? I could paint every single inch in this bathroom to get close enough to the look I was hoping to someday get. I literally went to Lowe’s that day to buy paint.
Good thing I was so impulsive and didn’t put much thought into the worst case scenario here 😂.
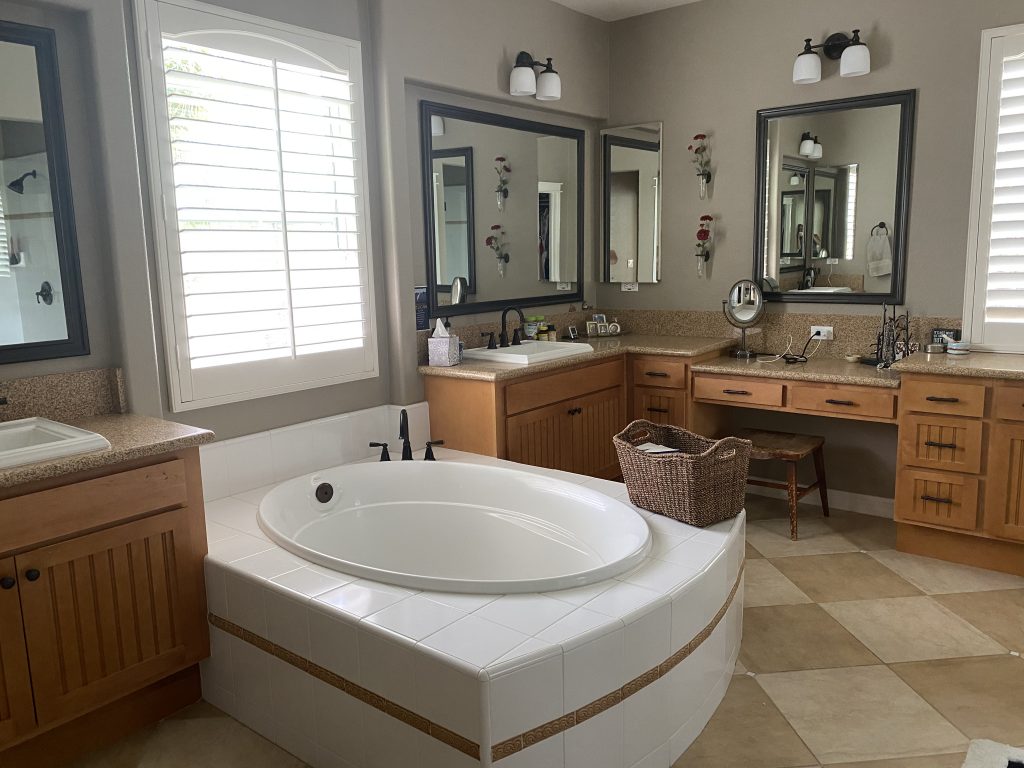
Here Is The List of What I Painted and In What Order:
- Countertops with Epoxy Paint
- Cabinets with Sherwin Williams Naval
- Handles, knobs, and towel rings with Rustoleum Spray Paint in Champagne Gold
- Mirrors with Rustoleum Spray Paint in Matte White
- Brown tile trim on tub and shower with Flat White and then a Polyurethane coat
- Painted and Stenciled the Floors (this is a whole different blog post due to how time consuming and labor intensive this step was)
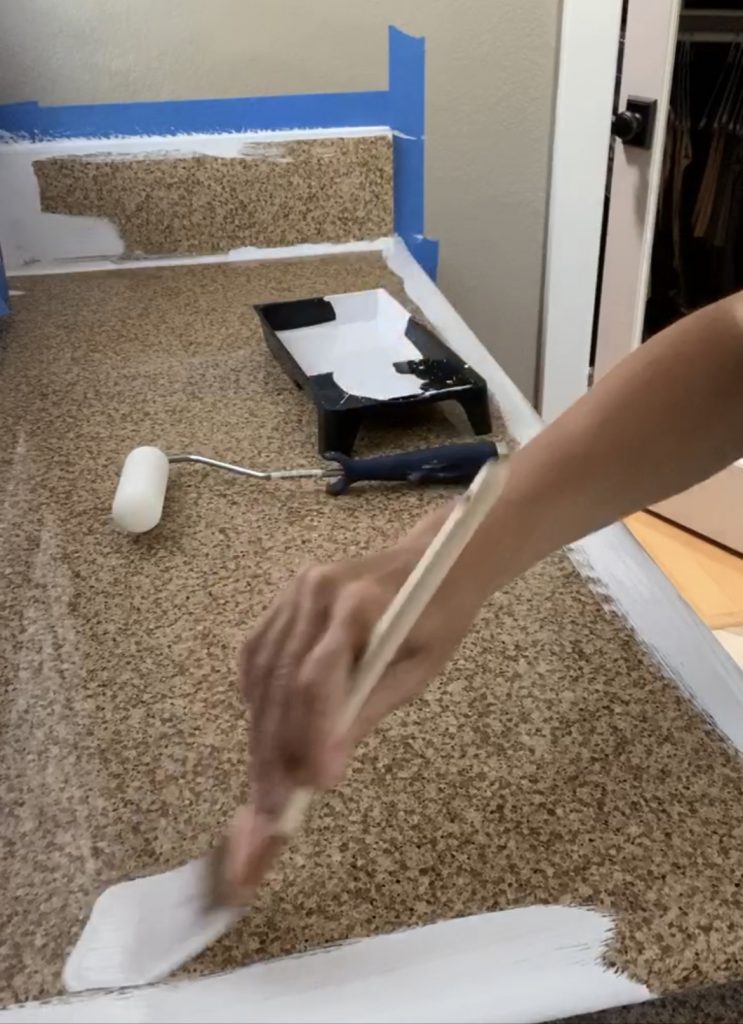
Epoxy Paint on the Counters
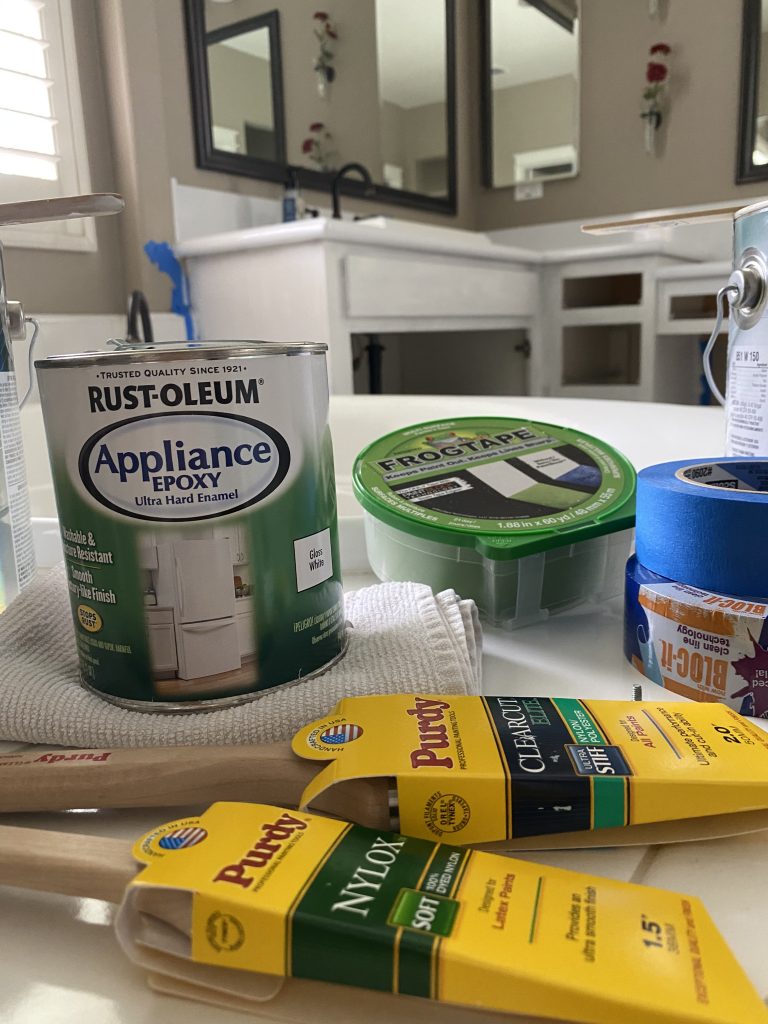
I had seen videos on many of my friends’ Instagram accounts of using Rustoleum Epoxy paint on countertops and decided – what’s the worst that could happen? So I started there…
Epoxy paint is relatively easy to use but you really only get one shot to get each coat right (ie there is no going back over ten minutes later to fix any drips you may have missed). I started with a smooth roller but realized pretty quickly that it was not going to give me the first coat coverage I was looking for so I immediately switched to use a brush.
I kept my pressure pretty light with the brush strokes on the countertop. And to be honest- if you were to zoom in on this photo- you would see drips in random places and some not super smooth areas… but I am an “almost perfectionist” and am okay with the end result as long as I get the look I am going for.
Epoxy paint goes on pretty quickly. I was able to do all the countertops in the bathroom in one hour! I then decided to wait seven days to do my second coat as there seemed to be a wide assortment of opinions online when I googled how long to wait between coats and I wanted to be safe rather than sorry 😳.
Primed and Painted the Cabinets and Floors
My second step was priming all of the cabinets and the tile floor. I used a primer that the Sherwin Williams salesperson recommended as I had heard that the product you use on cabinets and floors really matters and I did not want to be disappointed in my end result! There are THREE coats of primer on my tile floors…
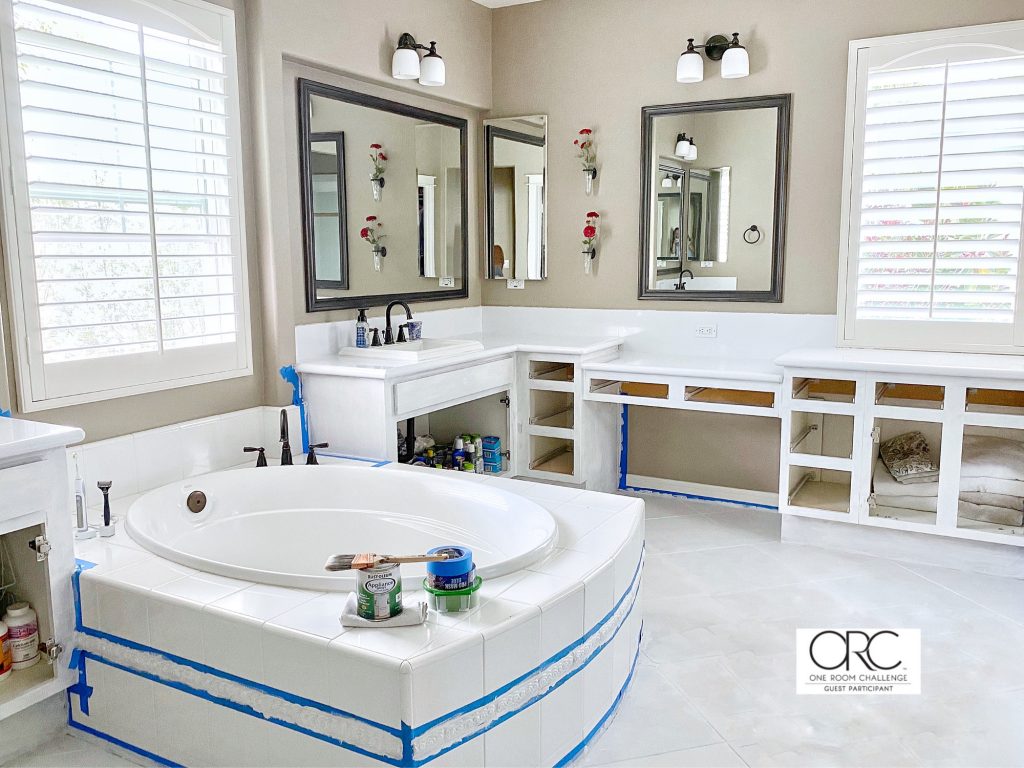
this is the progress shot of the second step I did of priming the cabinets and floors.
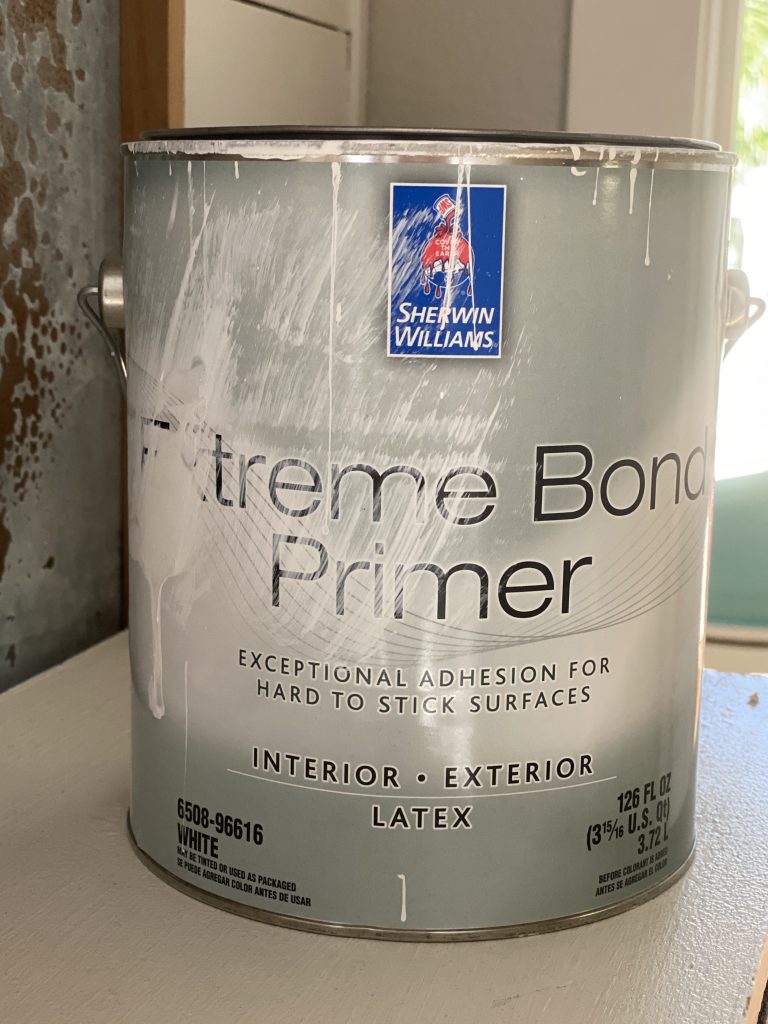
Step Three of How I Remodeled My Master Bathroom Was to Paint the Cabinets Sherwin Williams Naval
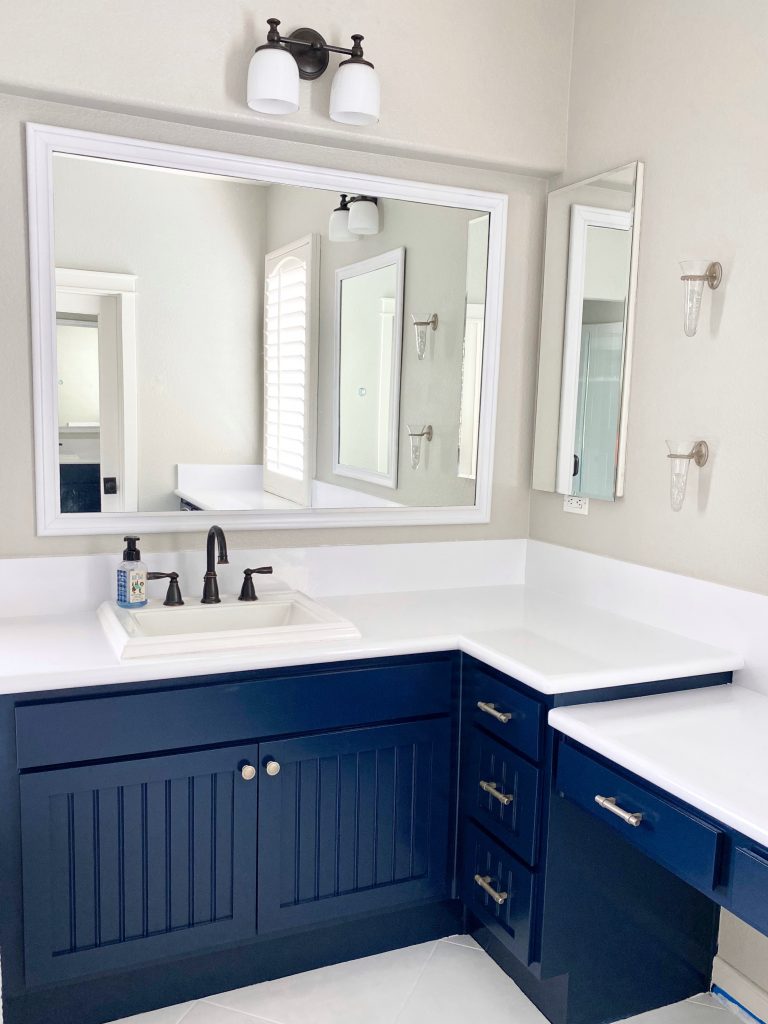
Step three in this bathroom project was to paint the cabinets Sherwin Williams Naval- my all time favorite color as well as the SW color of the year for 2020!!
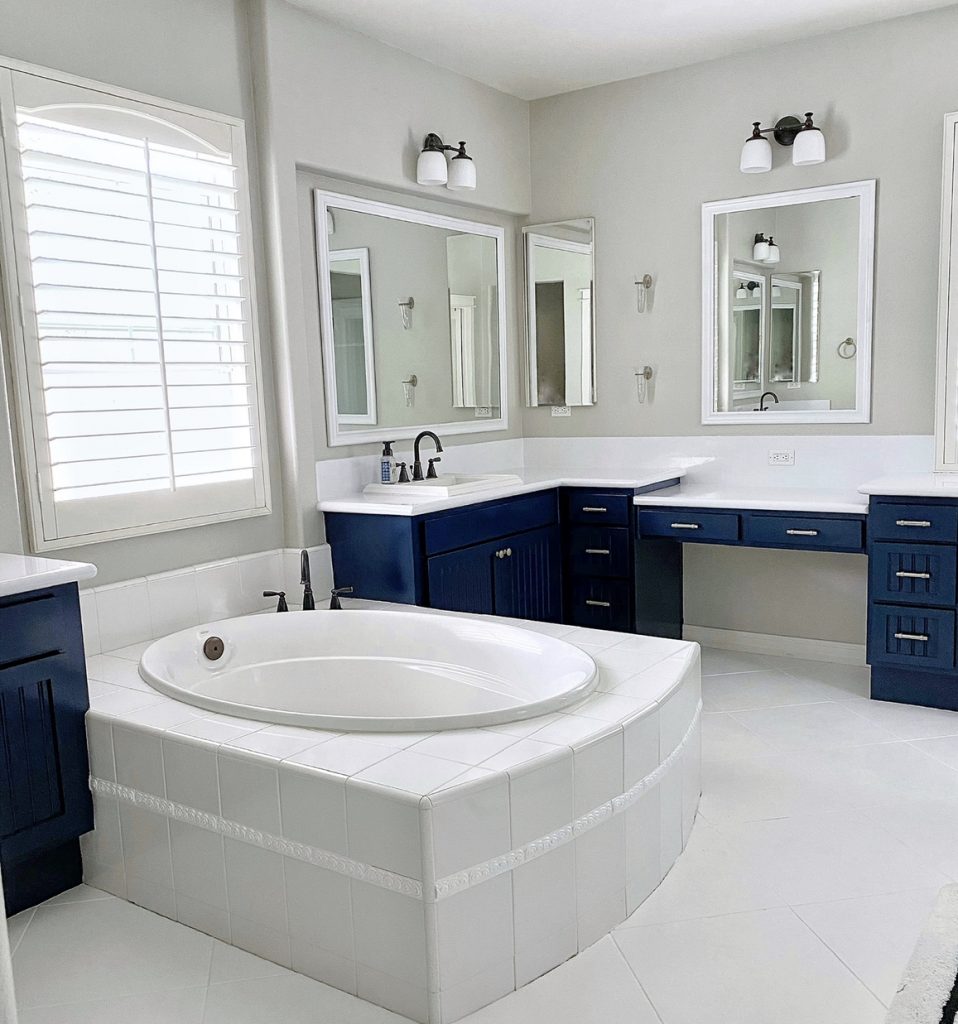
I used a brush to cut in the corners as my shaker cabinets have that added detail of the lines on the doors and larger drawers. But then I used a smooth foam roller for the rest of the areas.
I have decided that my favorite roller is the Purdy 4 inch mini roller – I have used this roller all summer now and the size seems to be so manageable for my hands and my newbie painter status.
Spray Painted the Mirrors and Cabinet Hardware and Painted the Walls Sherwin Williams Agreeable Gray
In between coats of the cabinets (I did two btw) – I painted the walls Sherwin Williams Agreeable Gray, spray painted the mirrors white, and spray painted the knobs and handles Champagne Mist. I also painted that thin tile wave trim on my bathtub and in my shower with the same flat white paint I used on the floor…
Floor Stenciling
Once I put all of those pieces of the bathroom back together- it was time to tackle the floor stencil. This process was quite time consuming and rather tricky. Instead of adding to this blog post here, I have decided to write a separate blog post about how to stencil a floor. You can find that blog post here.
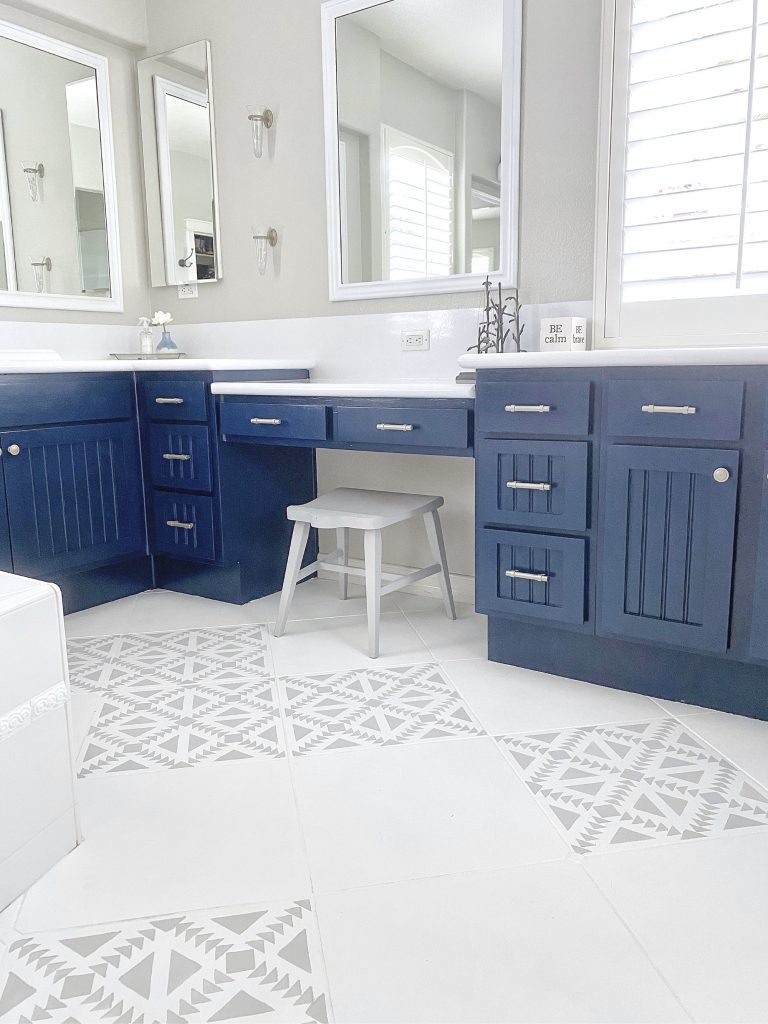
I cannot tell you how pleased I am with how my very first large DIY project turned out!
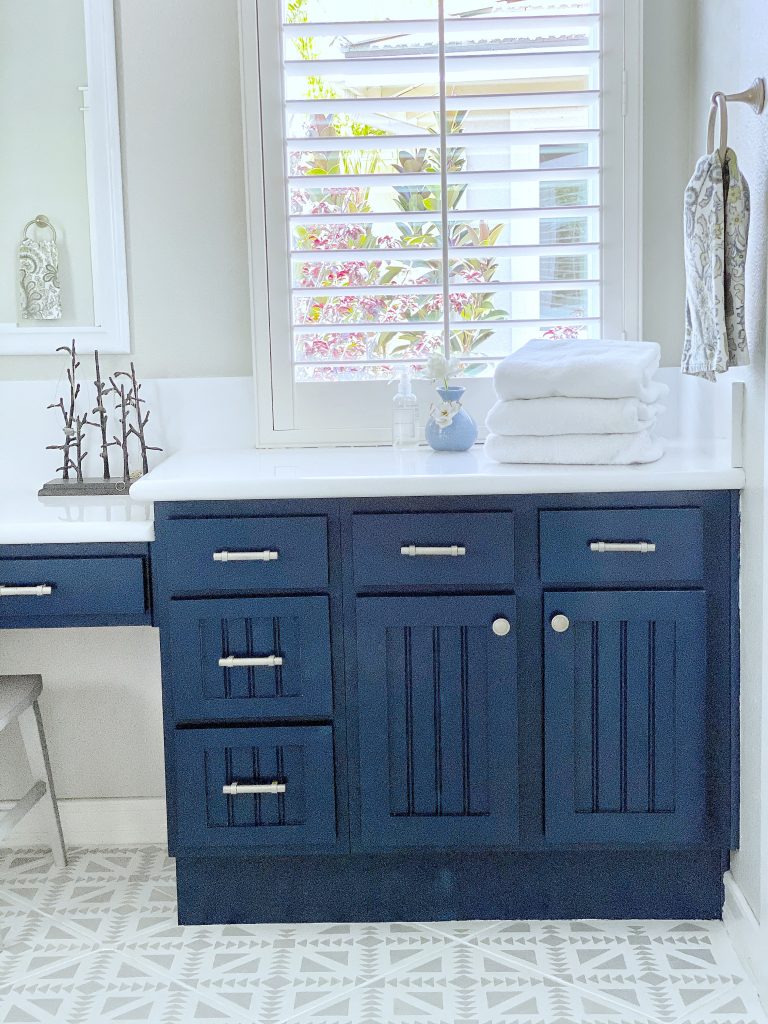
As I stated before, this was an impulsive, I am frustrated about the current pandemic and need something to do decision but I have ZERO regrets. In fact- this project made me realize that I can rely on myself and gave me such a boost in confidence that extends to all aspects of my life. If you are even thinking about starting a large project – I am here to tell you GO FOR IT!
And I used nothing but paint!
If you do end up doing a DIY master bathroom remodel, I would love it if you would share it with me! Either here on my blog or you can DM me on Instagram with a photo!
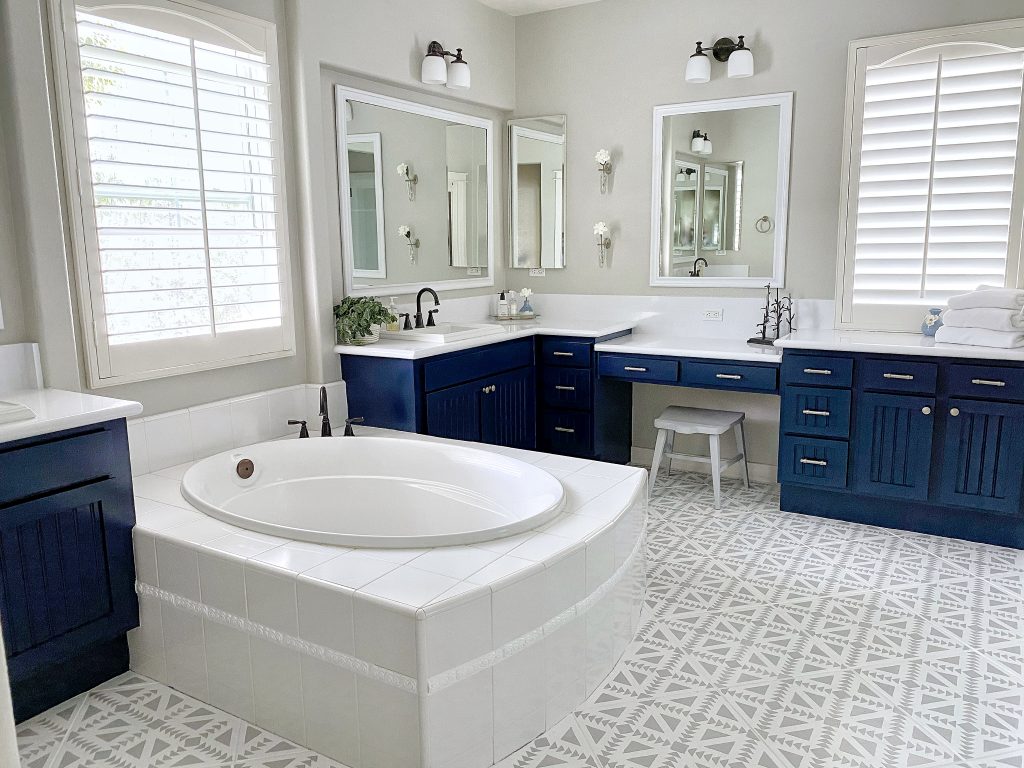


[…] Did you catch my blog post about how I DIY remodeled my master bathroom to forget about all the hard things happening in my life this year? You can read exactly what I did here! […]
[…] Remodeling my Master Bathroom (DIY) […]
[…] Remodeling my Master Bathroom (DIY) […]
[…] lightening up everything became my coping mechanism for this crazy pandemic year so once I finished painting every square inch of the master bathroom, I was looking for something else to […]
I love the bathroom remodel! Did you prime over all the grout as well?
Thank you Colleen!!! I did! Kinda turned the roller a tad to make sure it was all painted ☺️